You have a powerful Tajima embroidery machine on your production floor, ready to transform fabric with intricate designs. You also have a perfect image—a client’s logo, a custom graphic, an elaborate artwork. The challenge? Your Tajima machine doesn’t speak the language of JPEGs or PNGs. It requires a specialized digital instruction set. Learning how to Convert Image for Tajima Embroidery Machine is the essential bridge between your creative idea and a physically stitched masterpiece. This process, known as digitizing, is a craft that turns pixels into precise stitch commands. Skip it or do it poorly, and you risk costly reworks, wasted materials, and damaged fabric. This step-by-step guide will walk you through the professional workflow to ensure your images stitch out flawlessly every time.
Why You Can’t Just Load an Image File Directly
Tajima machines are industrial workhorses built for precision and speed. They operate by following a strict, line-by-line code that dictates every single movement of the needle and hoop. A standard image file contains zero information about stitch type, sequence, or density. It’s just a grid of colored pixels.
To Convert Image for Tajima Embroidery Machine, you must create a digitized file—most commonly in the .DST (Data Stitch Tajima) format. This file acts as the machine’s blueprint, containing commands for:
- Stitch Type: Whether an area uses a satin stitch for glossy borders or a fill stitch for solid coverage.
- Stitch Direction: The angle of the stitches, which affects the design’s texture and strength.
- Stitch Density: The number of stitches per inch, critical for avoiding puckering or gapping.
- Underlay: A foundational layer of stitching that stabilizes the fabric, a non-negotiable step for professional quality.
- Trim and Jump Commands: Instructions for when to cut the thread and move the hoop to the next section.
Understanding this sets the stage for a methodical conversion process, not a magical one-click solution.
Step 1: Evaluate and Prepare Your Source Image
The quality of your final embroidery is directly tied to the quality and suitability of the image you start with.
- Select the Right Image: High-contrast, clear images with well-defined edges convert best. Complex photographs with subtle gradients, shadows, and tiny details will require significant simplification and may not embroider well at small sizes.
- Secure the Best Possible File Format: If available, always get a vector file (.AI, .EPS, .SVG). Vector graphics are made of mathematical paths, not pixels, meaning they are infinitely scalable and provide crisp, clean lines for the digitizer to trace. This is the gold standard.
- Simplify and Set Expectations: Analyze the image for elements that are challenging in embroidery:
- Extremely fine lines (thinner than 1mm).
- Small, intricate text (below 8pt or 1/4 inch).
- Subtle color blends or gradients.
Discuss with your client or team what elements are essential. Often, a skilled digitizer can suggest simplifications that retain the spirit of the design while making it stitch-friendly.
- Define the Technical Specs: Before digitizing begins, you must know:
- Finished Size: The exact dimensions (in inches or millimeters) the embroidery must be.
- Fabric Type: Is it for a stiff canvas hat, a stretchy athletic jersey, or a plush towel? This dictates stitch density and underlay.
- Thread Brand/Type: This can influence how colors are selected and how stitches lay.
Step 2: Choose Your Digitizing Method
This is the core decision point. There are three primary paths to get a Tajima-ready file, each with different trade-offs in cost, quality, and time investment.
Option A: Professional Digitizing Service (The Industrial Standard)
For commercial shops, uniform programs, or any mission-critical branding, this is the most reliable and efficient choice.
- The Process: You send your prepped image and specs to a specialized service. A professional digitizer uses high-end software (like Pulse) to manually create your .DST file, applying industry knowledge of stitch physics.
- Key Advantages: You get a production-ready file optimized for speed, thread consumption, and durability. It includes proper underlay and pull compensation. Services typically provide a visual stitch simulation or proof for approval.
- Action Step: Choose a service with proven experience in Tajima DST files for commercial applications. Look for clear revision policies and an understanding of industrial machine parameters.
Option B: Professional Digitizing Software (For In-House Control)
If your volume justifies it, bringing digitizing in-house gives you maximum flexibility and control.
- Industry Software: The top-tier tools are Wilcom Pulse and Brother/Bernina’s high-end suites. These are complex, powerful programs used by industry professionals.
- The Reality: This is not a simple “auto-convert” task. It involves manually tracing the image, strategically assigning stitch properties, and sequencing the entire design. It requires significant training and practice to master.
- Best For: Large-scale operations with a dedicated technician or those needing to create and edit designs constantly.
Option C: Entry-Level Software with Auto-Features (A Cautious Approach)
Programs like Hatch Embroidery or Embrilliance offer auto-digitizing functions and can export to DST.
- The Process: The software analyzes your image and automatically generates a stitch file.
- The Critical Caveat: This output is only a first draft. Auto-digitized files are notoriously inefficient. They lack intelligent underlay, have poor stitch paths, and often misjudge density. They require extensive manual editing by someone with digitizing knowledge to be viable on a high-speed Tajima. Using an unedited auto-file can cause thread breaks, needle strikes, and poor registration.
Step 3: The Core Digitizing Workflow
Whether you’re doing it yourself or evaluating a service’s work, understanding the digitizer’s steps is crucial.
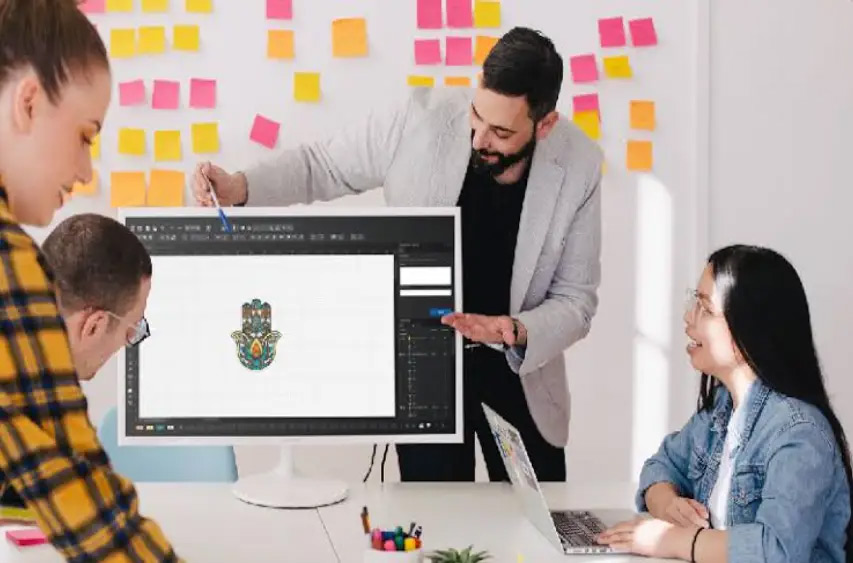
- Input and Tracing: The image is imported into digitizing software as an underlying template. The digitizer traces its key outlines, breaking the design into logical color blocks and objects.
- Stitch Type Assignment: Each object is defined. Will it be a Satin Stitch (for column-like text and borders), a Fill Stitch (for solid areas), or a Running Stitch (for fine detail)? This is a foundational artistic and technical choice.
- Building the Foundation – Underlay: Before any top stitching, the digitizer adds an underlay pattern. This stabilizes the fabric, prevents puckering, and can help push cut pile fabrics (like towels) down so the top stitches sit cleanly on top.
- Setting Stitch Parameters: For each section, the digitizer sets:
- Density: Adjusted for the target fabric.
- Pull Compensation: Slightly expanding shapes to counteract the inward pull of the stitches.
- Stitch Direction: Strategically angled to maximize coverage and visual appeal.
- Sequencing and Optimization: The digitizer orders the objects for stitching. The goal is to minimize color changes, trim counts, and long jumps between sections to create an efficient file that runs smoothly at high machine speeds.
Step 4: Testing and Finalizing the DST File
A file is not complete when it looks good on screen. It’s complete when it stitches perfectly on your specific machine and material.
- Run a Machine Test: Load the .DST file onto your Tajima and stitch it out on an exact sample of your production fabric, using the same stabilizer and needle type you plan to use. Never skip this step.
- Analyze the Physical Sample: Inspect the test stitch for:
- Registration: Are all layers aligning perfectly?
- Puckering or Distortion: Is the fabric pulling?
- Coverage: Is the thread density correct?
- Thread Breaks: Does the sequence cause excessive tension?
- Refine and Finalize: Take the lessons from the test stitch back to the digitizing software. Make precise adjustments to tension values, pull compensation, or stitch order. Then, save the final, approved .DST file.
Conclusion: Precision Engineering for Creative Expression
Successfully Convert Image for Tajima Embroidery Machine is an act of translation and engineering. It respects the limitations and exploits the possibilities of both thread and machine. For a professional embroidery operation, the digitizing process is not an expense but an investment—it safeguards your machine’s health, your material costs, and, most importantly, your reputation for quality.
While automated tools offer a tempting shortcut, they cannot replicate the judgment of an experienced digitizer who understands how stitches interact with fabric under the rapid fire of an industrial needle. By following this disciplined, step-by-step approach—from rigorous image preparation and method selection through to mandatory physical testing—you ensure that every image you convert is not just changed into a file, but is authentically reborn as durable, precise, and professional embroidery. Your Tajima is built for excellence; give it the excellent instructions it deserves.


Leave a Reply